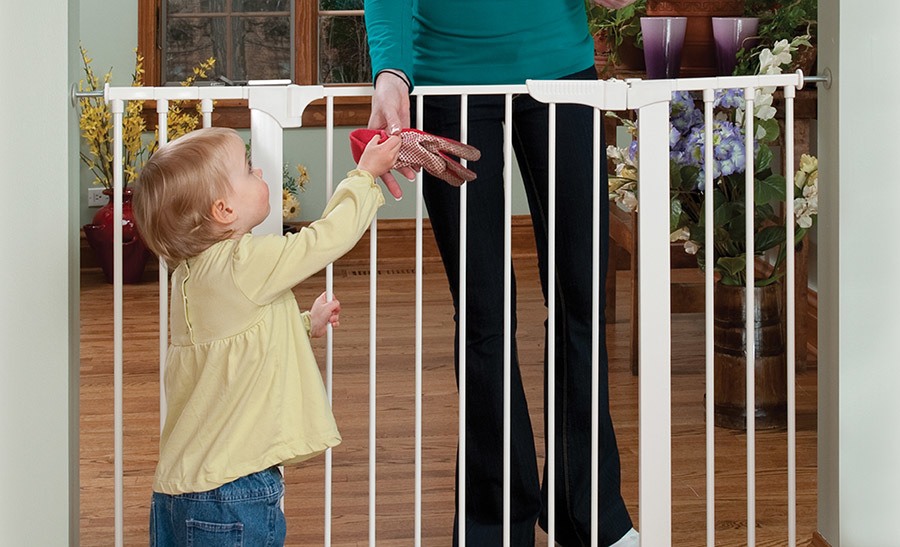
If there’s one thing that babies and small children are good at, it’s moving quickly. They have a great ability to get themselves into trouble in just a few seconds and by the time you’ve turned your head back around, they’re up to something.
Learning how to put up a baby gate is a skill that every parent will need to know. These gates can protect from dangerous areas in the house or potential hazards so that you don’t need to worry constantly about what they’re getting up to. We’ve made a step by step guide for how to install baby gate devices and where they’re better suited to at home.
Step 1: Decide on What You Need

Every home is different, every child is different, and every potential hazard will be different. You’ll need a gate that suits all of your needs so take some time to figure out the lay of the land. Do you have dogs or other pets you want to keep out?
Is the doorway wide or is a taller length needed? Do you want a self-closing gate? Is one-handed operation important? All of these things will impact your final purchase.
Step 2: Choose the Key Spots In Your Home

One of the most important parts of the baby gate installation process is knowing where the trouble areas are at home. This could be different in every household depending on the layout but there are some definite areas you’ll want to keep babies and small children away from:
Step 3: Install Baby Gate – Hardware Mounted

With a hardware mounted device, this requires more tools and installation time but you can configure baby gates to better suit your setup. Follow the instructions that come with the gate and make sure you have all of the tools ready before you begin. The hardware mounts will be installed before the gate itself, so make sure you don’t damage the wall underneath.
Step 4: Install Baby Gate – Pressure Mounted

A pressure mounted gate is easier to install but you need to be sure you’re working with a flat surface and that both sides will be sturdy enough for installation. Follow the baby gate instructions precisely and be sure that the wall underneath is protected from damage.
Step 5: Test Out the Gate
Practice going through the baby gate until you’re comfortable with it and test out that your baby or child isn’t able to get through. The tougher gates will be harder to open but offer more security, so it depends on what your family needs.
Resources
TodaysParents
ConsumerReports

