How To Build A Baby Gate

A baby gate is one of the most effective tools you can have in your babyproofing arsenal. Capable of completely sealing off rooms, restricting access to stairs, and even preventing your child from leaving their bedroom during the night, it’s an invaluable piece of equipment.
However, as your toddler continues to grow and becomes increasingly mobile along the way, the need to install more and more baby gates arises. This can come with a fairly hefty price tag, with the average baby gate costing between $75-$100.
Factor in the number of rooms and stairways you want to restrict access to and you could end up spending a small fortune.

You do have another choice though. Why not try making your very own baby gate?
This doesn’t only allow you to save some money on a store-bought alternative, but also allows you to design something that’s more in keeping with the aesthetic of your interior design scheme.
Below, we’ve put together a simple guide on how to build a baby gate that will look fantastic in your house, save you some money, and be just as functional as one you can buy ready-made.
Design
The first step in making your own baby gate is come up with a design that will look nice in your house, be easy for you to open and close, whilst making sure that your child isn’t able to get through it.
Think about any existing color scheme you’ve got in the room you’ll be installing your baby gate into, and decide whether you’d like it to match or if you’d prefer to make more of a feature of it.
You’ll also need to give some thought to the direction that your baby gate opens with, and the space you’ve got surrounding it. Is it better for it to open into the room you’re going into, or would be better opening towards you as you pull it?
Give some thought as to whether you’d like your homemade baby gate to features bars, so you can still see into the room, or if you would prefer to use a sheet of material that completely blocks off the view as well as restricts access.
Working out these details will allow you to get a better understanding of what materials and quantities you need to start building your gate, and will prevent you from stumbling into issues with it mid-construction.
Material
Once you’ve got your design all worked out, you need to give some thought to what materials you’d like your baby gate to be built from. You have a couple of options here, and each one comes with its own benefits.
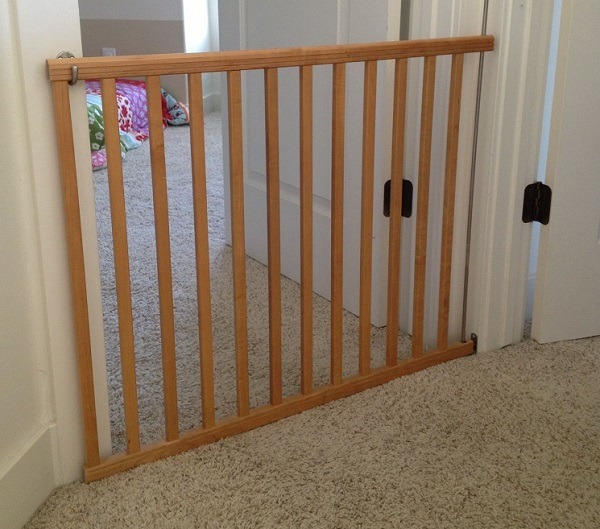
The first material you can consider using is wood. This is really easy to work with and can be cut to shape to fit the specific needs of your doorways and stairs.
It can also be sanded down to give it a softer edge, which is safer for little fingers and can be painted to match your design scheme.
Wood is also relatively cheap, and you can even use the wood from reclaimed pallets that many people will give to you for next to nothing.
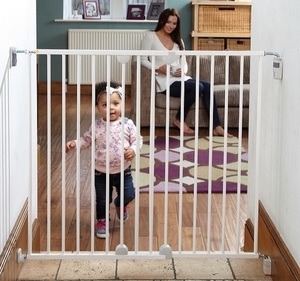
The second material you can use when you’re building a baby gate is plastic tubing. This will give you the appearance of a traditional baby gate and is a great choice to go for if your design features bars.
Plastic tubing is also a lot easier to put together than wood, and will simply click together with the connecting pieces you can find at most hardware stores.
Plastic is harder to paint than wood, however, and you may need a specialized paint if you want to change the color of your baby gate.
Hinges & Latches

Whichever material you choose to build a baby gate from, two of the most important things you’ll need to add to the finished are hinges and latches.
This will allow you to secure the baby gate to either a door frame or wall and will act as a way to restrict access.
Let’s begin with the hinges. Some are designed to open only one way, whilst others give you the ability to open your baby gate both inwards and outwards.
The choice you make will depend on where you’re placing your gate, as some rooms and stairs won’t have enough room for a gate to swing both ways.
Generally speaking, however, it’s usually best to go for a hinge that will allow you to open the gate in either direction as you’ll have a lot more freedom of movement and won’t have to stop and think about which way it opens.
You have a couple of options when it comes to latches as well. The first is the traditional-style latch, with a small bar that automatically shuts itself underneath a top catch and can only be freed once it’s been lifted up.
This is a tricky latch for a child to master, however, it’s not impossible for them to quickly work it out.
You can also opt to go for a sliding lock. This is really easy to install and is a lot harder for little fingers to work. However, some slight frustration may manifest as you’ll need to remember to manually slide it across again every time you use the gate.
The hinges and latches you choose will ultimately come down to personal preference, however, one thing you need to remember is to purchase ones that are made from good quality material.
Steel or brass are ideal as they are highly durable and won’t easily bend or snap through continual use.
Installation
Finally, the time has come to install your self-built baby gate. This again will need to be incorporated into the overall design, and the material you choose will determine how you install it as well.
Wooden baby gates can potentially be drilled and screwed directly into a doorframe or wall, and this is ideal if you’d like to make it a permanent feature.
Installing a plastic gate can be as simple as sliding it directly into the space it’s intended for, but you might want to purchase some wall protectors beforehand to keep your paintwork in good condition.
After you’ve installed your gate, test it, and make sure it’s stable before allowing your family to use it. Once it’s up and running you’ll have that wonderful satisfying feeling of knowing you’ve built your very own baby gate from scratch.

